Saturday, December 24, 2011

Merry X'mas....My Roasted Turkey

Hi all....I've been missing for along time and I hardly bake when I got back..;p I had a wonderful holiday and how I wish it'll be longer. Another week, and I'm back to reality...haha! Back to my daily routine...boring..;p Well, hopefully I have a wonderful year ahead and I'll like to wish everyone has a wonderful 2012 too...:)


Okay, here's my post, I think it's the only post in December...hehe! Its roasted turkey for tonight's X'mas Eve gathering with my dear dear friends. This is my first attempt of roasting a turkey and it was done mainly with my own version of taste. Hopefully everyone will like it tonight...;p


Looks alittle burned huh...LOL!! My silly oven or silly me?? I'm not too sure. Anyway it does look alittle tempting right...hahaha! Garnished with some greens (broccoli) and yellows (baby potatoes) so it doesn't look that dull.
Here's the recipe of mine.....
1 turkey (about 14 pound)
Marinate with...alittle minced garlic, salt, black pepper & paprika for at least 3 days so that the meat will absorb the marinated ingredients well.

For stuffing:
2 large onions (sliced)
2 celery ribs (chopped)
some fresh mushrooms (sliced)
1/2 cup fresh parsley (finely chopped)
some chicken broth
4 slices bread (cut into small cubes)
1 tsp salt
1 tbsp chicken seasoning
1/2 tsp black pepper
** Butter for saute the ingredients above.
** Some melted butter for rubbing the turkey.

Method:
~ Saute onion, celery, parsley and mushrooms with butter until tender.
~ Add in chicken broth and seasoning, mix well. ( Add the chicken broth slowly, so that it won't be too watery)
~ Add in bread cubes and mix well.
~ Stir in enough chicken broth to reach desire moistness.
~ Stuff into turkey and place remaining stuffing ingredients outside turkey.
~ Place on tray (breast side up), rubbed with melted butter.
~ Preheat oven at 250'C at grilled and grill the turkey uncovered for 2-3 hours until meat tender. Cover the top with aluminium foil if turkey turns brown too quickly.
~ Grilled additional for 40 minutes (covered with aluminium foil)
~ Turn the oven to "bake" at 200'C, (uncovered) further baked for another 10 minutes or until well cooked.
~ Pour out the pan drippings and thicken it with some cornstarch for gravy.


A look of the juicy meat....:)


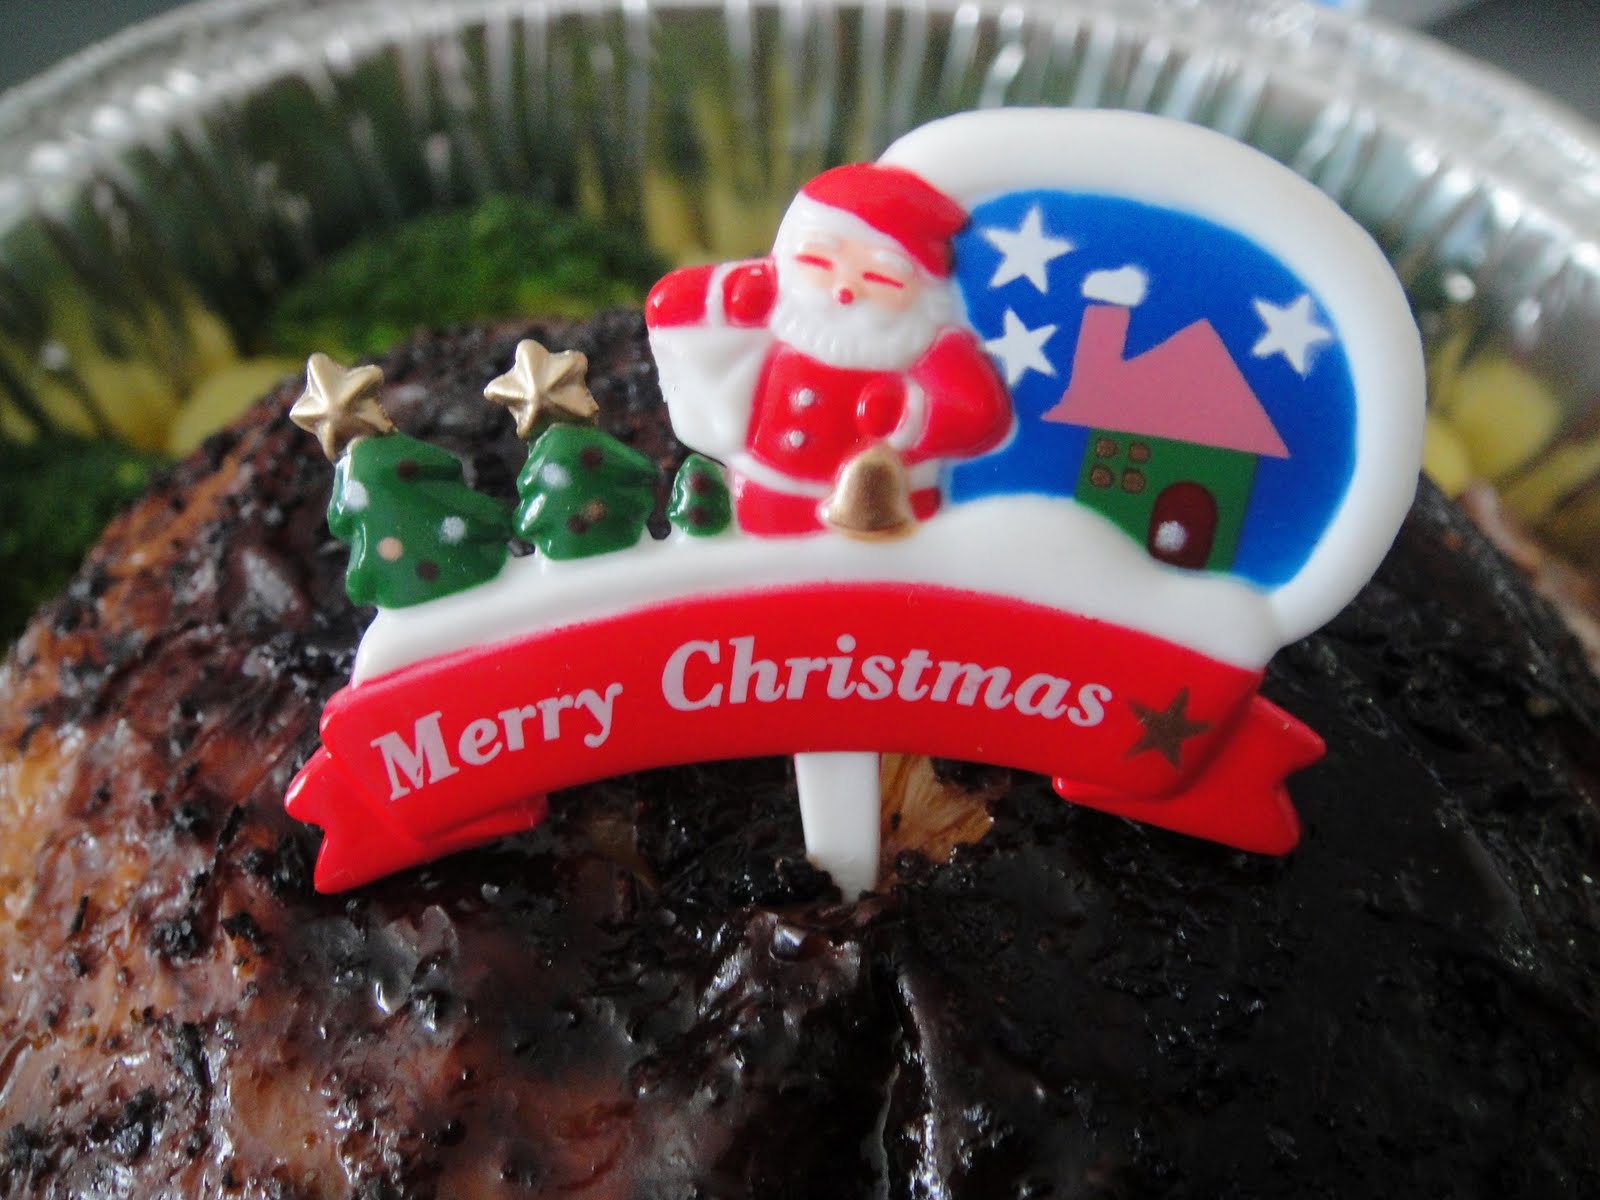
I'll like to wish everyone a Happy Merry X'mas, and may Santa grant you all your wishes!!


Cheers!!

Friday, November 25, 2011

Mango Yogurt Chiffon Cupcake

It's almost time for me to travel...YEAH!!! And all these while my attention and my mood are all focus on my coming trips...LOL!! Pardon me...;p This year's trips are alittle different, that is I got to get away for few days with my dear hubby then another one with my dear daughter and cousins....Oh I just can't wait!!
Right, before I disappear next week, here's my last post for this November...^^....then I'll be back for the X'mas and New year posts!!

This was a cake that I wanted to bake so much since last 2 weeks but never got to do it until I read about Ann's (Anncoo Journal) post last 2 days. Mine was alittle different, but similar to a chiffon cake.

This cake was so fluffy and moist and I definitely will make it again. It shrink abit after cooling but the texture was still good. Have a look below while my cake was "growing" in the oven...:)

Recipe:
160g mango puree
40g fresh mango (cut into small cubes)
4 egg yolks
60ml plain yogurt
8 tsps corn oil
1/2 tsp mango essence
35g sugar
80g self raising flour

4 egg whites
1/2 tsp cream of tartar
75g sugar

Method:
~ Whisk egg yolk, essence and sugar until light, then add in corn oil and stir well.
~ Add in mango puree and mango chunks and mix well.
~ Mix in yogurt, mix well and fold in flour and mix well. Set aside.
~ Whisk egg white with cream of tartar until bubble forms. Gradually add in sugar, beating at high speed until frothy and stiff peaks form.
~ Gently fold in egg whites into egg yolk batter until well blended.
~ Spoon batter into prepared cupcake moulds and bake at preheated oven at 160'C for 30 minutes.
~ Remove from oven, invert cake until completely cooled.


Got to go...wish you guys have a wonderful year end holidays....Enjoy!!!

Friday, November 18, 2011

White Wine Cheese Cake

A special cheese cake for a special friend!! This was bake a day before the celebration, and I has been cracking my head for what cake to bake for my dear friend for her early birthday celebration. Then she requested a cake with alcohol...hmm, tiramisu? No no...not again! Then when I was searching through my recipe books, this cake just came to my mind! Yes!! a wine cake!!
I've baked this cake more than a decades ago for my dear vocal teacher, which I remembered that his comment was "GOOD"!!! So I've decided to bake this for the birthday gal...:)

Got a good quality white wine from the store nearby and got some fresh rapsberries for decoration. Well, not much decoration here, and I don't think a rich wine cheese cake will go well with cream or chocolate. So, lets just made it simple!

This recipe was actually founded from the web long time ago. (really more than a decade)
Here comes the recipe....

200g digestive biscuits
100g butter (melted)

~ Wrapped the 9" round ring pan with aluminium foil.
~ Crushed the biscuits and mix well with melted butter and press it formly onto a 9" round ring pan.
~ Leave it aside while prepare the cheese fillings.

500g cream cheese
2 eggs
90g sugar
2/3 cup plain yogurt
1&1/3 cup white wine (get the best one)
2 tbsps cake flour

~ Cream the cheese and sugar till light.
~ Add in eggs one at a time. Blend well.
~ Add in yougurt and wine and mix well then fold in the flour.
~ Pour into prepared tin with the biscuits base.
~ Bake at 170'C for 60-65 minutes. Remove from oven and let cool before chilling in the fridge overnight.
~ Remove from pan and decorate as desire.

The texture was really rich and if you like wine, this is the recipe you must try. Trust me, you'll love it!! So what are you waiting for, this is best to serve during X'mas gatherings after your turkey meals...hehe!


Cheers!!

Wednesday, November 9, 2011

Black Forest Swissroll (Schwarzwaldekirsch Torte)

It's been awhile since my last post. Its almost end of the year and I'm so lazy to do anything except shopping and counting down for my trips..haha! But when I checked my bookmarked to-do-lists,...Oh dear!! There are so many recipes I've marked and its getting longer and longer. What should I do??? Those are all wonderful recipes from other bloggers and wonderful books I borrowed from friends. Well, there are friends suggested I start with something easy and also alphabetically. Alright, it helps...and so here is it, I'll start with the letter "B" (since I don't have any starting with "A")

A modern approach of famous Black Forest Gateau adapted from my friend's book, "The Ultimate Mixer Cookbook" by Kay Halsey.


It's the first time I made a swissroll without any flour and oil. Its like eating a meringue actually but its good. And it was so good to go with a cup of hot long black...yum!!

Here come the recipe:
175g dark chocolate
6 tbsps brandy (I used rum coz no brandy at home...;p)
210g sugar
5 medium eggs, separated
300ml whipping cream
2-3 tbsps icing sugar
300g fresh cherries (I used canned coz no fresh cherries were found near my area..haha!)

Method:
~ Preheat oven at 180'C. Lined a swissroll tin. (12x10")
~ Break chocolate, melt at double boil with 4 tbsps of brandy.
~ Melt till smooth and remove from heat.
~ Beat sugar and egg yolks till creamy and add in the melted chocolate.
~ Whisk egg whites until stiff.
~ Fold egg whites into chocolate mixture gently.
~ Stir lightly, do not over mix.
~ Pour into prepared tin and level the surface.
~ Bake for 20-25 minutes or until the top set.
~ Remove from oven and cover with a damp sheet of greaseproof paper and a tea towel.
~ Leave overnight or at least 8 hours to stand.
~ Whipped whipping cream and stir in remaining brandy. Mix well.
~ Sprinkle a large sheet of greaseproof paper with icing sugar and invert the cooked cake on it.
~ Remove the tin and discard the lining paper.
~ Spread with prepared whipped cream and top with cherries.
~ Carefully roll up and deco as desire with extra cherries or icing sugar.


"Tips: Use fresh cherries if possible! " This was stated in the book, the taste must be better I guess with those fresh cherries. I'll make this again when I can get some fresh ones...:)

Well, mine turns out almost the same as the picture shown in the book..hehe! Guess I got it right!

Cheers!!

Wednesday, November 2, 2011

Double Chocolate Muffins @ Flower pots

It's November..Yeah! Very excited that school is going to have the term breaks in 2 weeks time and our holidays will begin soon....:)
Well, when I was so excited counting down something happened yesterday and it ruined my coming weekend plans! (Don't ask me why....hopefully everything will be over since then) No mood for anything since yesterday but luckily my dear daughter cheers me up! She did some good improvement for her exams, and I'm glad that she did!
She has been asking for some fondant play and we had this plan since before her school exams start. So, with the promise, we did it this morning!


I've baked this muffins for her last night for her and her friend for the "fondant play" this morning. Scroll down then you'll see what they did.....not a pretty one but glad they enjoy it so much!!...^^


A double chocolate muffin adapted from the book "100 Desserts" (西式甜品) by Winnie 姐. Haven't try eating it yet but it smells good and when I cut it for my photo taking, the texture was soft and moist...:) It'll be my tea break later!!

Recipe with alittle changes:
120g dark chocolate
225g self raising flour
1/2 tsp baking powder
120g brown sugar
75g butter (melted)
2 eggs
1 tsp vanilla essence
1/2 cup thick cream
1/2 cup chocolate chips


** Prepare alittle chocolate ganache if desire to serve with the muffins.

Method:
~ Finely chop the dark chocolate. Melt it over a pot of simmering water.
~ Sift flour with baking powder together and set aside.
~ In a mixing bowl, beat well brown sugar, melted butter, eggs, vanilla essence, cream and melted chocolate together.
~ Add in flour mixture and fold well.
~ Add in chocolate chips and mix well.
~ Spoon into 4oz paper cupcake moulds to 3/4 full and bake at 180'C preheated oven for 25 minutes.


Then.....here comes the girl's work!!
First they cream a thin layer of the chocolate ganache to the sides of the muffins. Then covered with orange fondant to form a flower pot, then follow by some flowers and butterflies to stick on the lollipop stick for decorations.

Top with their favourited "Kit Kat" chocolate balls.......

....and pooked the prepared flowers and butterflies on to the pots!!
These are really untidy and ugly...haha! But they enjoy the whole process of it.....^^ and even asked to do it again tomorrow....haha!
Well, we'll do something else I promised...hehe!
This idea was actually inspired my daughter's favourite TV Programm..."Finger tips"!!


Cheers!

Sunday, October 23, 2011

French Hazelnut Chocolate Cupcakes

Yeah, my daughter will be having 3 days off from school starting tomorrow due to Deepavali Festival. But yesterday we already started our shopping and eating plans...;p A busy Saturday, that we went breakfast with friends, then lunch with my cousin brothers (heavy lunch) then tea with my aunt and another cousin brother then dinner and beer with my hubby. Good treat huh....but....Gosh!!! Then today, another heavy breakfast at MCD, heavy lunch and dinner...oh dear, I should have to start fasting tomorrow...LOL!!


So, since I was to meet my dear cousins and aunt yesterday which I said just now , I've made some cupcakes to share with them. a very new recipe adapted from the book my sister gave me on my birthday...."100 Desserts 西式甜品" by Winnie姐 (Hong Kong).


This recipe suppose to fit into a 6" round cake tin, but I've made it into cupcake moulds which I think its more suitable as a gift. Since the recipe only fits in a 6" cake tin, so I've doubled it to fit 27 medium size paper cupcakes.
A wonderful recipe with good feedback, I think you should try this out...:)


Here's the recipe for only a 6" round cake tin......
3 egg yolks
3 egg whites + 2 tbsps sugar
120g dark chocolate (I used valrhona dark chocolate)
1/2 cup sugar
160g butter
1/2 tsp vanilla essence
90g cake flour / superfine flour
3 tbsps full cream milk
2/3 cup ground hazelnut


Topping:
90g dark chocolate (I used valrhona chocolate too)
4 tbsps whipping cream
1 tbsp butter
some strawberries


Method:
~ Finely chopped the chocolate and melt over a pot of simmering water.
~ Beat sugar and butter till creamy then add in egg yolks one at a time follow by vanilla.
~ Fold in flour, ground hazelnut and milk, mix well.
~ Add in melted chocolate and mix again.
~ Whisk egg whites until foamy then add in 2 tbsps sugar and beat until stiff.
~ Slowly fold in egg whites into chocolate batter and mix well.
~ Spoon into cupcake moulds or a 6" round cake tin and bake at 180'C for 25-30 minutes.
~ To make the topping, melt all ingredients together over a pot of simmering water. Leave to cool brieftly and pour over cake or spoon to top the cupcakes.
~ Leave to set awhile and decorate with some strawberries or some toasted hazelnuts if you prefer.
The texture was really good and rich with chocolate flavours. My daughter loves it without the cream and this time, only this time my husband loves my chocolate cake...haha!
Trust me, you have to try this out!!!


Cheers!!

Friday, October 21, 2011

Cutie Angku Kueh

I'm so into baking and cooking lately! Mostly because my daughter's school exam was finally over and I'm free of stress now. What is in my mind now is just all kinds of recipes...haha!

Okay, I've done this angku kueh this afternoon for my friends for supper actually, but before our dinner starts, the kuehs were half gone! That means it's delicious...aren't they?!...LOL!!
Oh...and my daughter, she's not a fan of angku kueh, but she loves this. Why?....I think mostly because of the cute shape and her favourite peanuts inside...:) Then my husband, he keep telling me that he preferred coconut fillings but he took 5 of these...haha!

Anyhow, I'm not quite satisfied with the colours here. It was suppose to be real RED for the red dough, which I used only the beetroot juice. I should have blend some of the root into it ..:( I did used beetroot for my angku kuehs last time, which you can view here. Very nice RED right?....Haiya, I just miss that part!! So after steamed, it was blur orange instead!

Nevermind, the texture was still good....and most of all, my friends love it. Oh about the mould....I used those DAISO egg moulds this time, and those kueh just came out easily. Nice one, I must go shop for more shapes at Daiso.

Right, the recipe....you can get it here.

Mostly the same, but instead of pumpkins or orange sweet potatoes, I used the white sweet potatoes (same as the one I did for the black sesame angku), and some beetroot juice.

I just did 1/2 portion of the recipe here, so it makes 16 small angku kuehs from the tiny cute moulds. The difference of the recipe here was only the water used, I added 50ml water from the cooked white sweet potatoes and another 50ml water from the cooked beetroot. If you like the real RED, then you should follow my ingredients here. (total 100ml water because its only half portion of the recipe)

In case you are wondering how I cooked the beetroot or the sweet potatoes, I just sliced the roots thinly and added water just to cover the roots and bring to boil until the roots were softened.

And the fillings, this time was peanuts fillings which my friends requested. I still prefer the beans fillings...LOL!!

I personally like the fish shape...don't they just look cute and lovely?! I think we can do alot of things from this egg moulds....just think of something, it may attract someone before they try to eat...haha!

Once again, I must thank my mum for teaching me this kueh and it becomes my famous kuehs among the rest...haha!


Cheers!!

Wednesday, October 12, 2011

Taiwanese Meat Pie (馅饼)

School's examinations starting tomorrow, and I'll like to wish everyone good luck and do well. Okay, I know my daughter is only 7 years old, but I'm already started to feel nervous and stress, wonder how am I going to stress out for the coming years...LOL!! Relax...that's what my husband said to me!!
Alright, my post today...a Taiwanese dessert / snack. I love Taiwan food, I've been there 2 times and I never miss their night market with all lovely and delicious food!! Hoping that I may go again...;p

Taiwanese Meat Pie ( 馅饼 ) or you may call it pancakes but with fillings! Btw, I changed the fillings here. A curry flavours one....hehe! Tasted by few friends this afternoon when we were having lunch, feedback was...GOOD!!

Okay, here's the recipe.....

Ingredients for fillings:
200g chicken fillet (diced) ~ marinade with 2 tbsps meat curry powder and a pinch of salt and sugar.
2 medium local / yellow potatoes (diced)
5 shallots (diced)
1 onion (diced)
2 stalks curry leaves (chopped or you prefer to blend it)
2-3 tsps chilli paste
1 tsp chicken seasoning powder
1-2 tbsps water (add slowly, may need more if finds potatoes are not thoroughly cook)

Method:
~ Panfry shallots and onions until fragnant with 2 tbsps oil then add in curry leaves. Panfry at medium heat until fragnant.
~ Add in chilli paste and potatoes. Continue to cook for about 2-3 minutes then add in the rest of the ingredients. (except water)
~ At low heat slowly add in water and continue cooking until potatoes are totally cooked.
~ Dish up and let cool.

Ingredients for the pastry:
300g plain flour
3g salt
170ml warm water @ 65'C

Method:
~ Place flour and salt in a big bowl, add in water and stir to mix.
~ Mix dough by hands until form a rough dough then place on cleaned surface and knead for 3 minutes.....(ways of kneading, just press dough flat and fold into half and continue the same procedure for 3 minutes)
~ Place dough in a clean bowl and cover with cling wrap. Rest for 30 minutes.
~ Take out dough and roll into long stripes until smooth. Divide into 30g each and its ready to use.


~ After wrapping the fillings, seal properly like sealing a steamed pau then slightly press it flat by using our palm.
~ Heat up a non-stick pan with 1 tbsp oil and panfry both sides until golden brown at low heat.
~ Serve hot!!

Of course you can always change the fillings to your liking. Maybe with black pepper mutton or beef, it may taste good too...:)

Well, as you can see, my wrapping was not good here. Uneven pastry...one side thicker than the other...:( I know practice makes perfect...I'll do it again!!


Cheers!!

Friday, October 7, 2011

Orange Cocoa Marble Chiffon

Crazy with cooking and baking lately, I find this is the way to destress. (except the washing part la)...haha! Everyday without fail I have to do at least 2 hours revision (morning & night) with my daughter for her coming exams, and make sure she understand everything. That's why I feel so stress and tired! My husband said I'm too hard on her that she's only Std-1, but I just cannot help it...;p Its not that I want her to score all 100% for me, but at least she must know the important of examinations and also her attitude of learning.
Well, since its another weekend, I let go alittle today, cooked her favourite dinner and a cake for her breakfast tomorrow. (Anyway, she took a big piece before she went to bed...haha!)


An Orange chiffon but played with some cocoa powder for the marble effect. The effect turns out quite nice and I'm satisfied with it. (not to mention about the texture and taste...its super soft!) This was actually inspired my Ann from Anncoo Journal's Orange Chocolate Cake. Hers turn out so beautiful and I was wishing mine turns out like hers before baking. Somehow, it was a big difference...;p

Again this recipe was adapted from Kevin Chai's (Chiffon cake is done) Orange Chiffon Cake. I just changed alittle here by adding the cocoa powder.

Here's my version....

Egg yolk batter:
7 egg yolks
40g sugar
4 tbsps corn oil
1 tbsp orange rind
60ml orange juice
110g self raising flour

** 2 tsp cocoa powder

Egg white foam:
7 egg whites
1/2 tsp cream of tartar
120g sugar

Method:
~ Beat egg yolks and sugar until blubbly, add in oil, orange juice, orange rind and mix well.
~ Add in flour and mix well until forms a batter. Divide into 2 equal portions. Keep aside.
~ Add in 2 tsps cocoa powder in one of the egg yolk batter, mix well and keep aside.
~ Whisk egg white and cream of tartar until forms soft peak, add in sugar gradually and beat at high speed until stiff peak forms.
~ Divide egg white foam into 2 portions and add into the egg yolks batter separately.
~ Spoon into a 9" tube pan by sequence. Gently shake the pan alittle to even the top.
~ Bake at 170'C for 40 minutes. Invert pan immediately and let cool before slicing.

I can't resist myself, and took a big piece right after cutting it. Hopefully I don't take another piece after finish posting this....LOL!!


Have a great weekend.....CHEERS!!

Wednesday, October 5, 2011

Shepherd's Pie or Reese's Pie???

Hi all, here's another recipe that I promised to share. This was the one that I've tried the other day together with the peanut kueh. This was my first time trying a shepherd's pie but somehow I'm not sure how is the actual recipe tastes like....;p This pie came to my liking when I saw my aunt's (Venorica's Kitchen) post last week. Its so easy and something different to serve for dinner instead of noodles or rice we used to have. (My daughter used to complain that she's bored with rice and noodles...haha!)


Well, if you are wondering why I decided to have such a title for this post, this was because of 2 reasons. First, I never try to eat a shepherd's pie before and secondly I've changed the ingredients to suit my very own taste. But of course this was inspired by my aunt...:)
Ingredients:
200g minced chicken fillets
6 small local potatoes (yellowish)
50g white button mushrooms (sliced)
** mozzarella cheese (depends on your liking, I used quite alot)
100-150g carbonara sauce (I used Prego's brand)
1 tbsp salted butter

Method:
~ First marinate the minced chicken fillet with some dried bazil leaves, alittle paprika powder, alittle black pepper and a pinch of salt for at least 30 minutes.
~ Cooked the potatoes until soften and mashed. Add in butter and mix well.
~ Saute the minced meat with 1/2 tbsp olive oil until fully cooked and add in the mushrooms. Stir well, off heat.
~ Then add in carbonara sauce and mix well. (If you find its too watery, then you may use less)
~ Spoon the cooked meat into prepared tray, top with cheese then followed by mashed potatoes.
~ Sprinkle some cheese on top of the potatoes if desire.
~ Bake at preheated oven at 200'C for 25 minutes. Serve hot!

This recipe served a 8x4" and a 6x2" trays. Can you believe that my daughter finished up the small one and asked for more...;p Oh she just love carbonara sauce and that's why I used that and cheese.....YUM!! Now you know why I named such title here...LOL!!!


Cheers!!

Monday, October 3, 2011

Peanut Santan Layer Kuih

I've been quite busy these few weeks and another 2 weeks to go then I can relax and enjoy my time slowly. You could probably wondering why...huh? Well, it's because I have to spend more time at the office now and back home, I got to do revisions with my daughter for her coming week examinations. Yes, it's very tiring rushing everything in a day, but this does not keep me from baking something nice and delicious..:)

Here's something I'll like to share today. Infect I've done 2 different recipes today!! One for dinner and this lovely kuih for dessert..:D I'll like to share this kuih recipe first then will find another time to share my "dinner" recipe with you!

A fragnant and sweet kuih, that you'll probably love it...Peanut Santan Layer Kuih (Peanut with Coconut milk layer Kueh)


A recipe adapted from "famous cuisine no.70" with alittle modifications.

Ingredients (A):
200g grounded peanuts (as shown as picture below)
60g rice flour
80g tapioca flour
10g green bean starch
200ml thick coconut milk
115g sugar
400ml water

Ingredients (B):
60g rice flour
80g tapioca flour
10g green bean starch
200ml thick coconut milk
115g sugar
200ml water
1/2 tsp salt

Method:
~ Combine ingredients (A) and (B) separately, strain well.
~ Prepare 8" round tray with lined banana leaf or just brush with alittle peanut oil.
~ Spoon batters in tray on sequence by different colour at about 150ml each layer. Covered and steam each layer for 3 minutes over high heat.
~ For the final layer, steam over high heat for further 20 minutes, remove from heat. Leave to cool completely before cutting.

This kuih (almost the same as the layered kuih, 九层糕 ) was so good, chewy and not sweet at all. Love the peanuts and it really goes well with the coconut milk! It was well recieved by my hubby and my daughter..:) My daughter likes to eat it by peeling it layer by layer, she said that's more delicious that way...haha!

I'll like to submit this post to Aspiring Bakers #12: Traditional Kueh (October 2011), hosted by SSB of Small Small Baker.


Cheers!!

LinkWithin

Related Posts with Thumbnails